


Introduction
In this blog post, we'll set up the latest release of Oracle Database, version 23c, on an Oracle Linux 8 Compute instance in Oracle Cloud Infrastructure (OCI). This step-by-step guide covers how to create a new Compute instance, install Oracle Database 23c, and configure it for use. Follow along to get started with this powerful database system.
Note: Installing Oracle Database 23c on an always-free tier is not possible, as the required compute instance needs a minimum of 2GB memory!
Installing Oracle Database 23c — Developer Release
Ready to dive in? We'll walk you through installing Oracle Database 23c on a Compute instance and show you how to access it from your computer.
Let's get started!
Create a new Compute Instance
To start, let's create a new Compute Instance using Oracle Linux 8. Simply log in to your OCI console and open the OCI navigation menu. Navigate to Compute and click Instances, then click on Create Instance.
Make sure you are in the right Compartment!
For this Tutorial, you have to use a shape with a minimum of 2GB Memory e.g. VM.Standard.E2.1. Under Networking, select your VCN if it exists, or create a new one with a public subnet. Ensure that you download your SSH keys and store them in a secure location, as they will be necessary to connect to your instance during the installation of the Oracle Database.
For more details, you can read how to create a new instance on a public subnet here.

With the initial step out of the way, it's time to start the installation of the Oracle Database.
Install Oracle Database 23c
Connect to your compute instance using the command below.
ssh -i ssh-key-db23c.key opc@130.61.255.134
You can read here how to connect to your instance in three different ways (Cloud Shell, PuTTY and Bastion).
Next, we switch to the root user by using the following command.
sudo su
Instead, you can add
sudoto any command, but it is easier to switch to the root user, right?
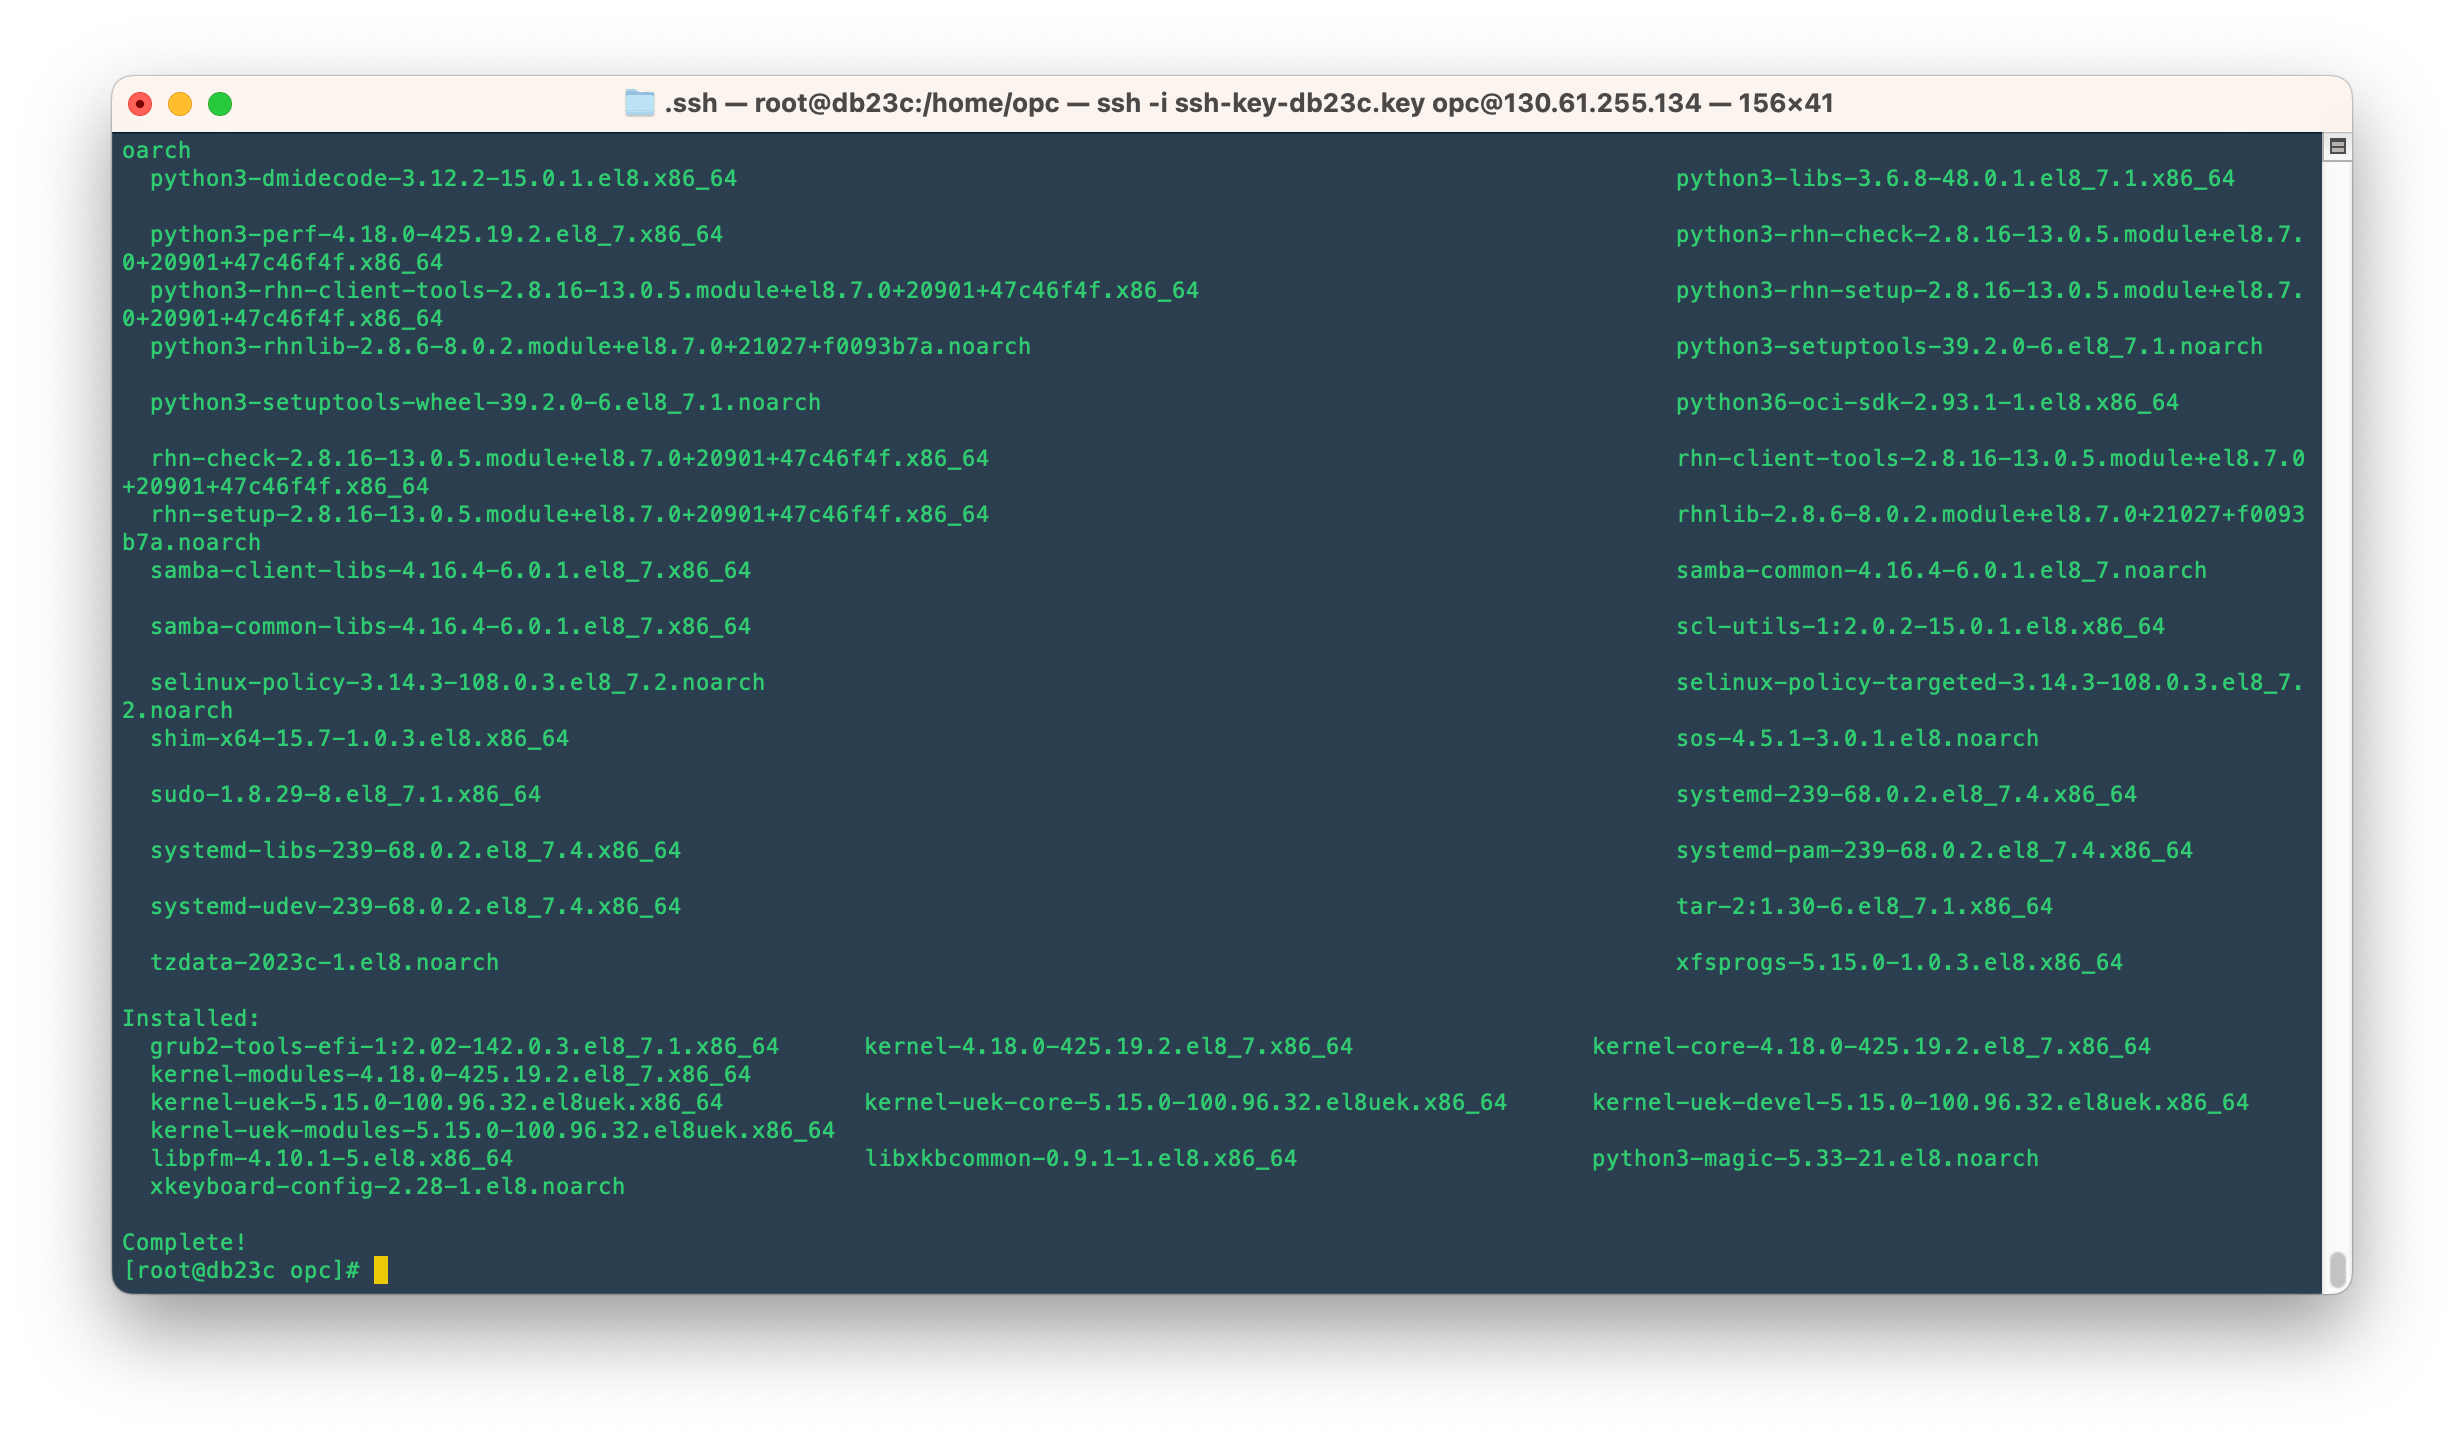
As a standard procedure, it is recommended to update the system with the latest software when working on a VM. Simply execute the following command to achieve this.
yum update
This will take a few minutes! After that, you will see a summary of the updates.
Enable the Oracle Linux 8 Developer repository.
yum config-manager --set-enabled ol8_developer
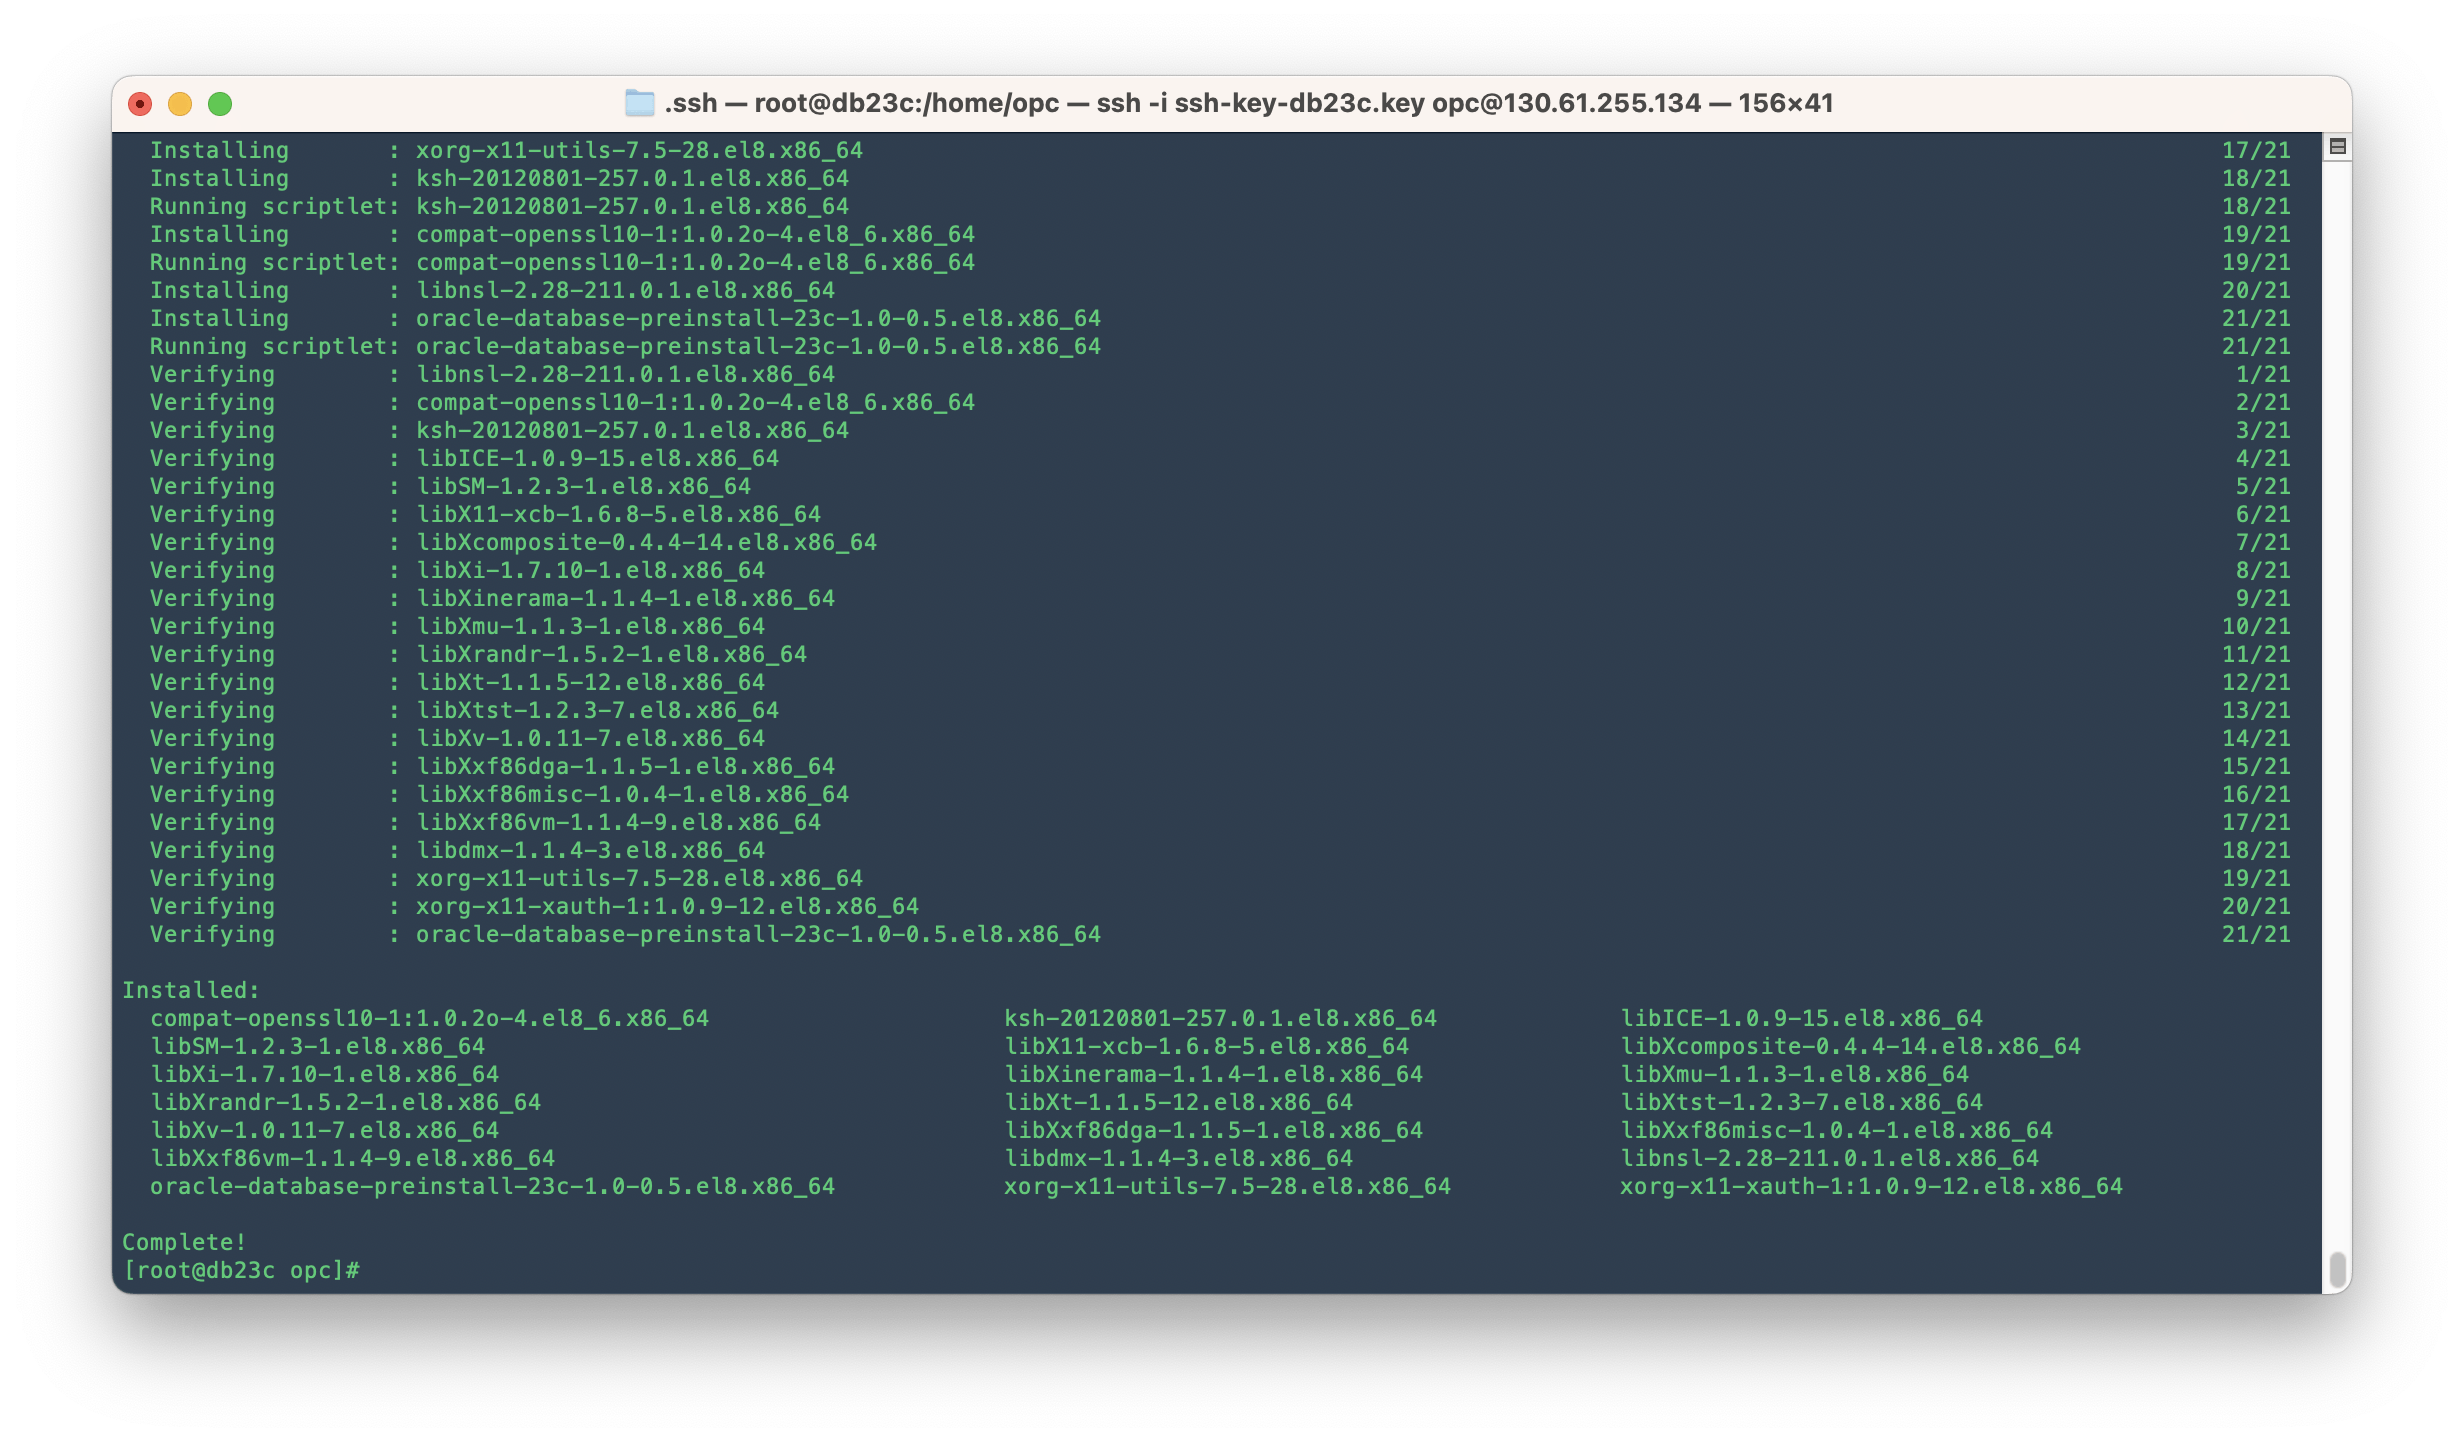
Now, we can download the Oracle Database 23c Free RPM and install it as root.
yum -y install oracle-database-preinstall-23c
In the end, you get a summary of something like this.
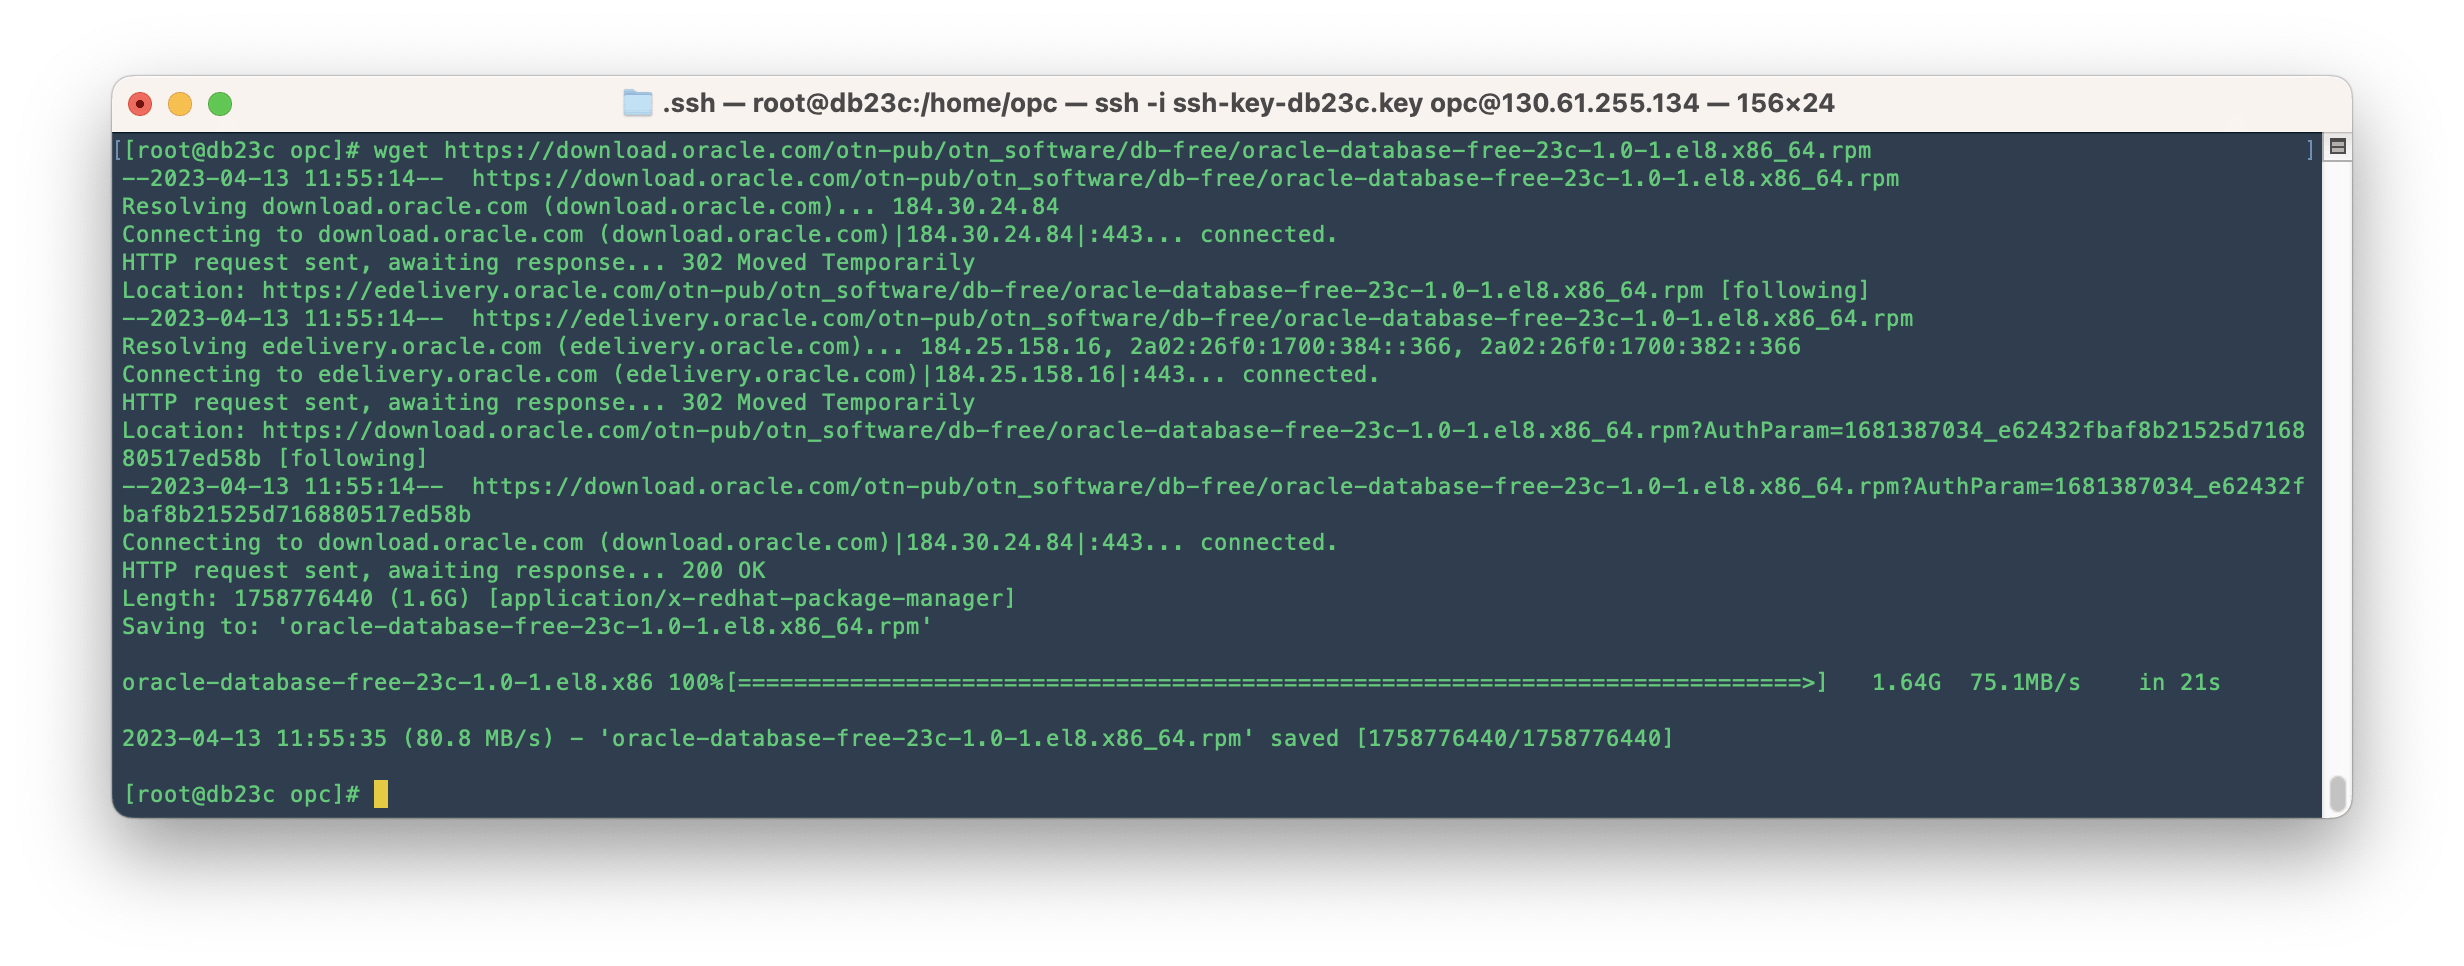
Download the oracle-database-free-23c-1.0-1.el8.x86_64.rpm file, which is essential for executing an RPM-based installation, and save it to your preferred directory.
wget https://download.oracle.com/otn-pub/otn_software/db-free/oracle-database-free-23c-1.0-1.el8.x86_64.rpm
Finally, install the Oracle Database by running the command below:
yum -y install oracle-database-free-23c-1.0-1.el8.x86_64.rpm
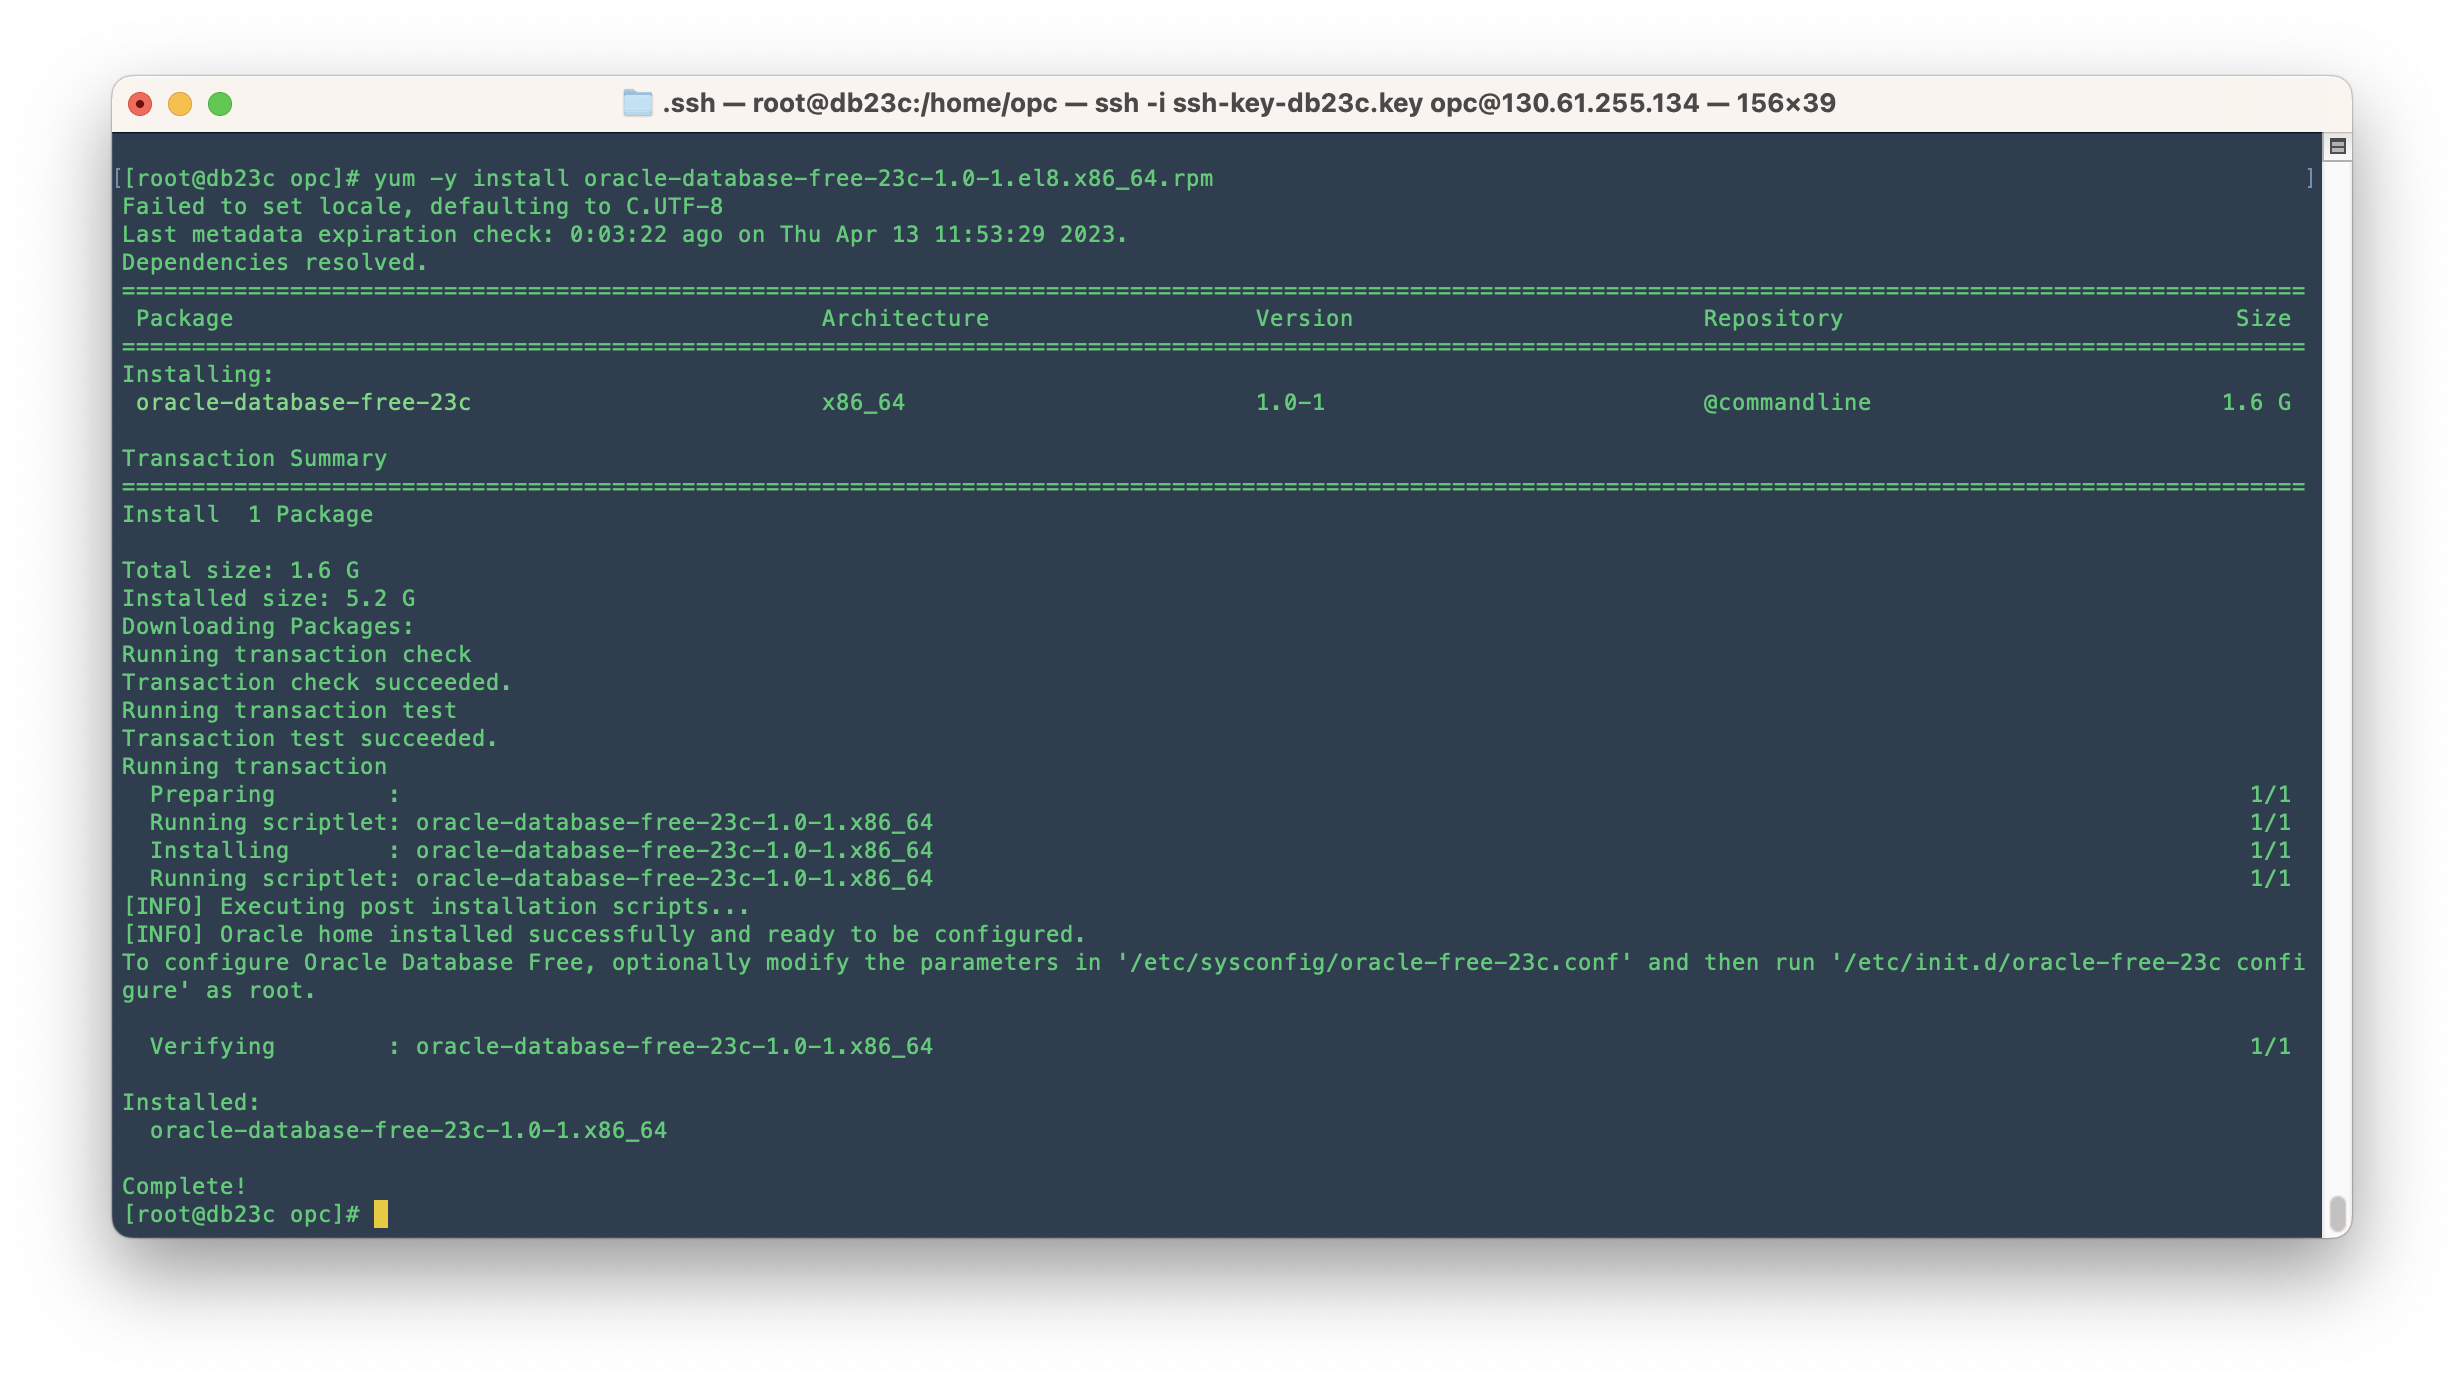
Woohoo! Your Oracle Database 23c Free Developer is all set and ready for action.
Configuring Oracle Database 23c
The configuration script sets up a container database (FREE) that includes one pluggable database (FREEPDB1) and gets the listener ready at the default port (1521).
Time to run the service configuration script:
/etc/init.d/oracle-free-23c configure
At the command prompt, specify a password for the SYS, SYSTEM, and PDBADMIN administrative user accounts. Oracle recommends that your password should be at least 8 characters in length, contain at least 1 upper case character, 1 lower case character and, 1 digit [0-9].

Go ahead and add the environment variables to your bash_profile with the default settings:
#Oracle Database environment variables
export ORACLE_SID=FREE
export ORACLE_HOME=/opt/oracle/product/23c/dbhomeFree
export ORAENV_ASK=NO
export PATH=$ORACLE_HOME/bin:$PATH
Finally, make sure the Database is auto-started when the instance boots:
systemctl enable oracle-free-23c

Great, that's it! The database is finally configured. Now, let's move on to connecting the database.
Time to Connect to Oracle Database 23c!
Let's dive in and explore how to connect to our freshly database using sqlplus!
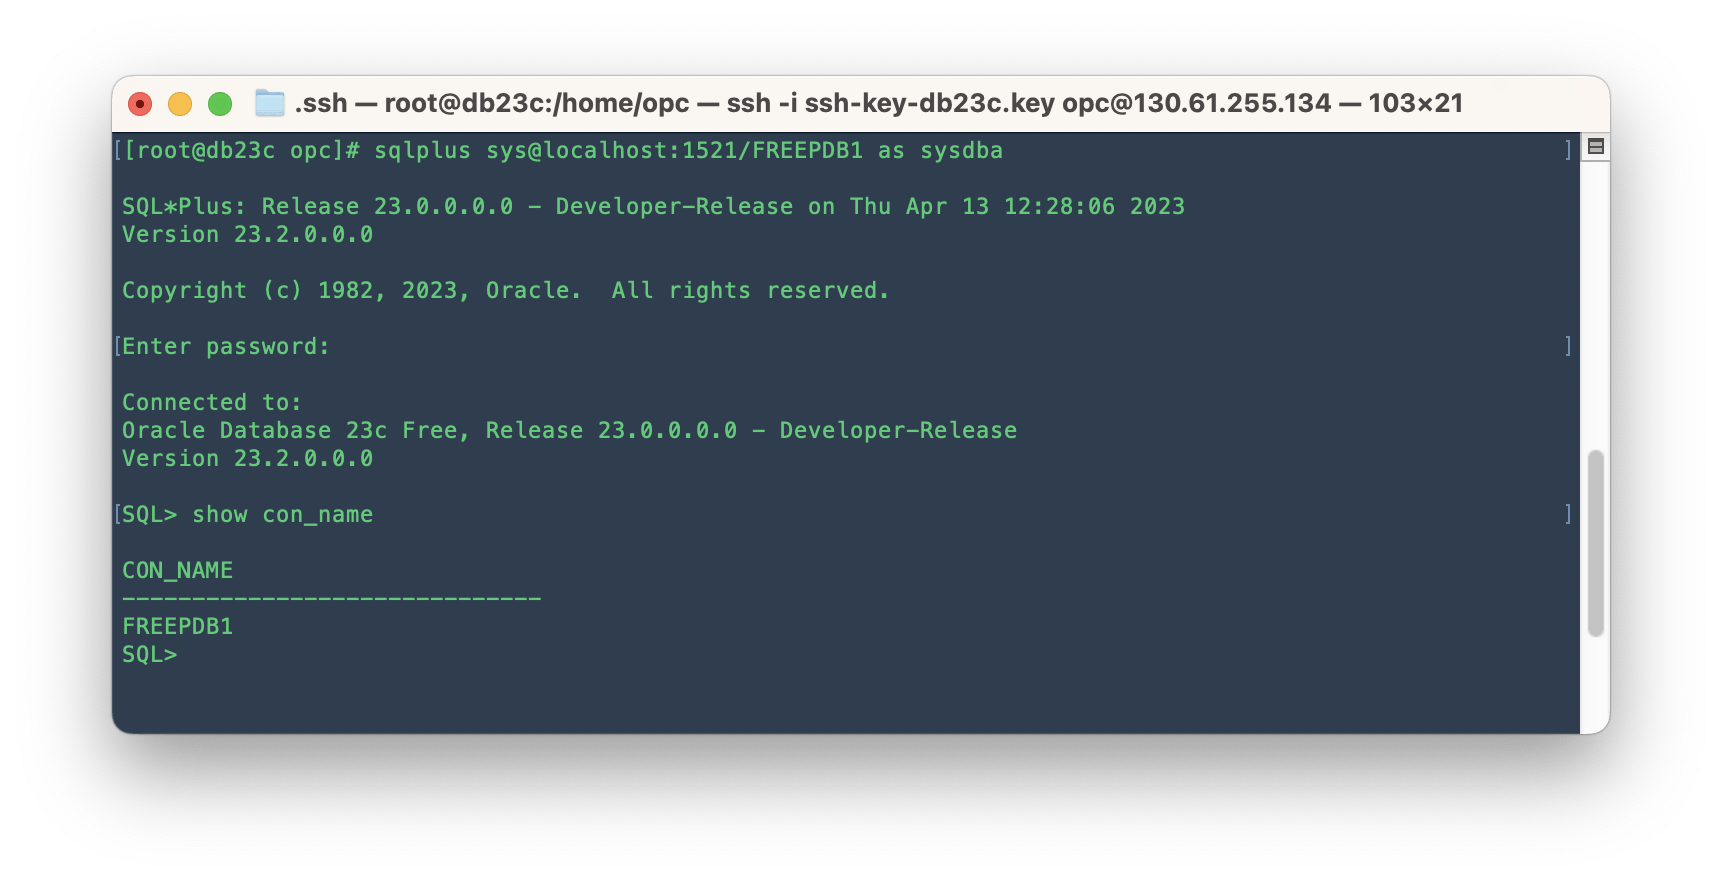
To easily connect to your Pluggable Database (PDB), simply use:
sqlplus sys@localhost:1521/FREEPDB1 as sysdba
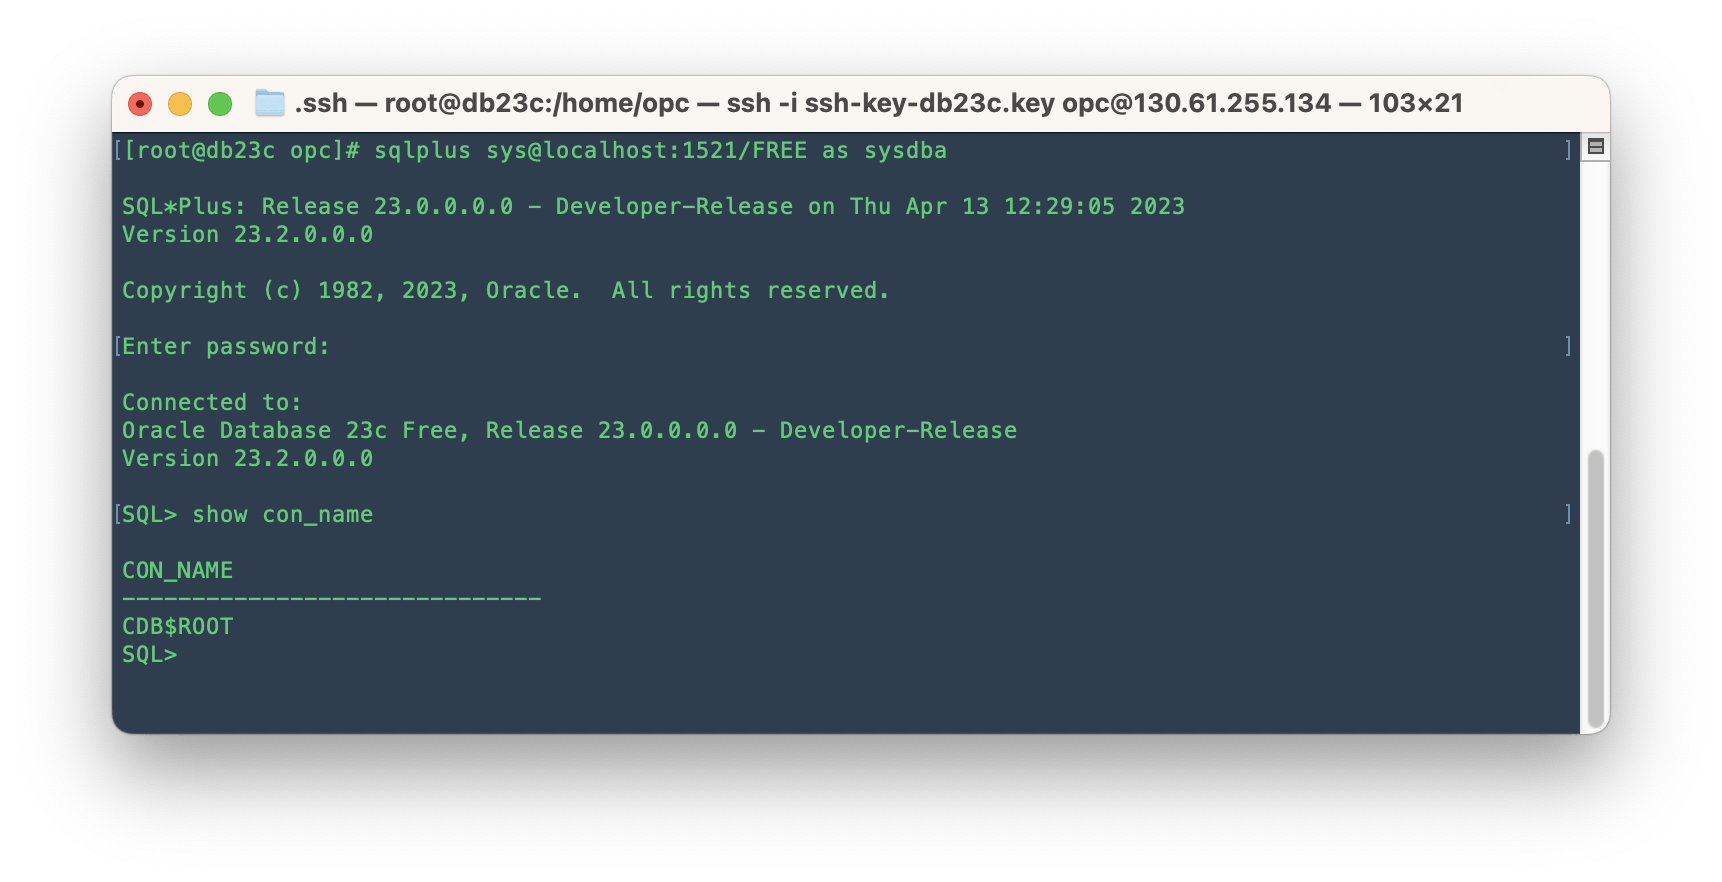
To quickly hook up with the Container Database (CDB), just use:
sqlplus sys@localhost:1521/FREE as sysdba
Conclusion
In conclusion, setting up Oracle Database 23c on Oracle Linux 8 in OCI is a straightforward process that can be achieved by following the step-by-step guide provided in this article. With the installation and configuration completed, users can now connect to the Oracle Database using SQLPlus and start leveraging the power of this robust database system.
What's Next?
In the upcoming post, we're going to dive into installing ORDS and APEX! You won't want to miss it – stay tuned!