

Enabling Multi-Factor Authentication in APEX using Oracle Identity and Access Management
Secure Access Made Easy: A Step-by-Step Guide Part 3


Introduction
In the previous blog, we've set up the Authentication and Authorization process, so let's increase our security by adding Multi-Factor Authentication (MFA) to this.
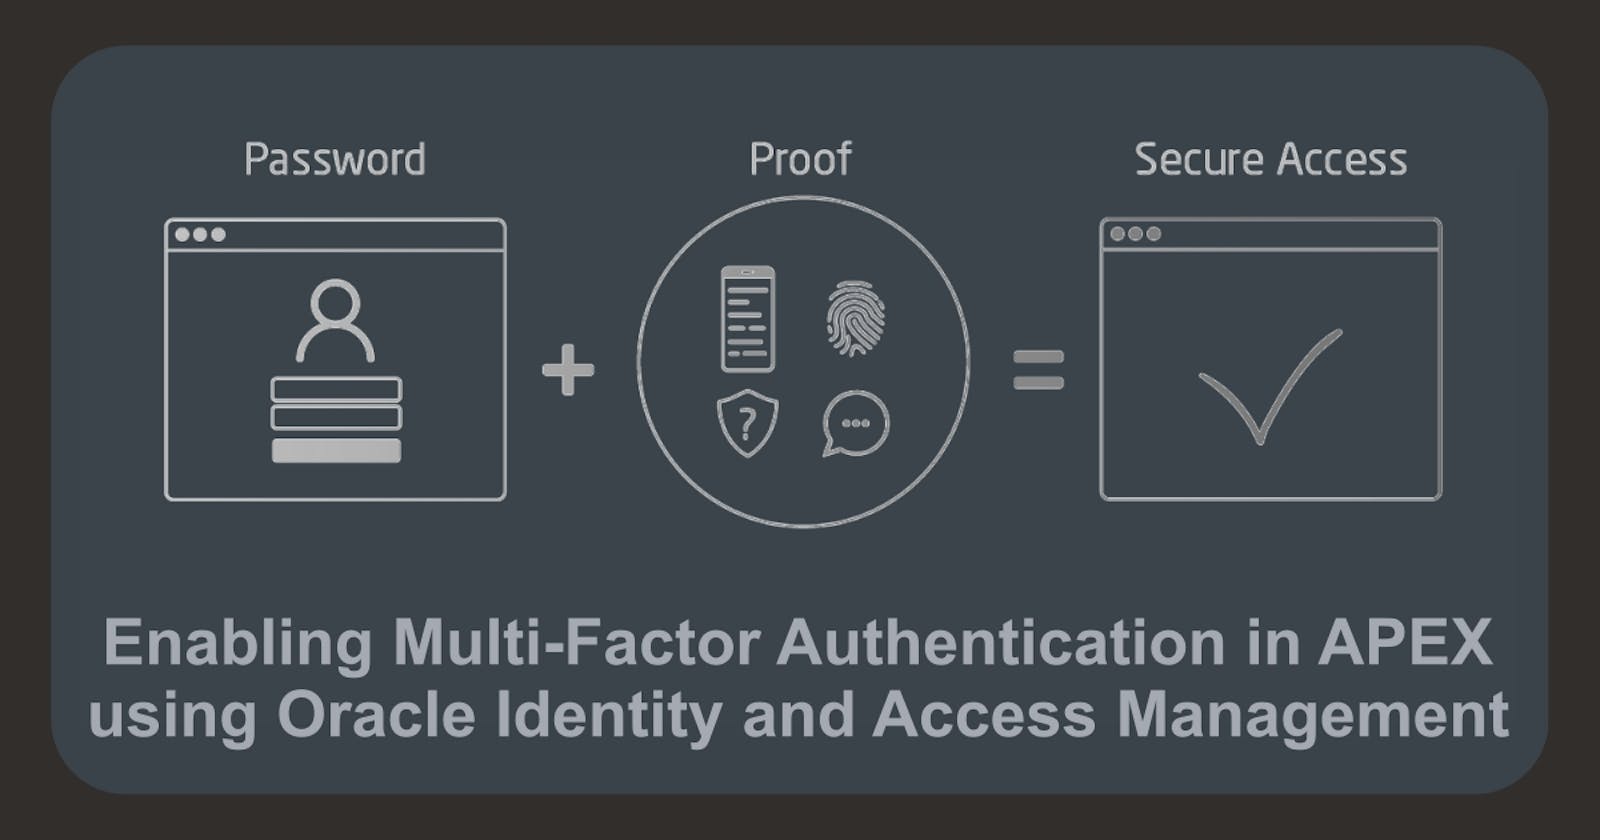
In today's online world, keeping our apps secure is super important. Oracle Application Express (APEX) and Oracle Identity Access Management (IAM) work hand-in-hand to make sure only the right people are using the app. To make APEX even more secure with IAM, we should definitely consider using MFA. MFA is a strong security step that asks users for extra proof of who they are, making it much harder for unauthorized folks to access.

MFA works by asking users for their normal login details and extra info like security questions or a unique code. This code can come from an email, an app, or a physical device. By combining MFA with APEX, we're making our apps safer and protecting important data from danger.
Prerequisites
Before we dive in, please make sure you have completed the following prerequisites listed below. This will enable you to move through this guide seamlessly.
OCI Tenancy ✅
Provisioning an Autonomous Database ✅
Accessing an APEX Instance ✅
Implementing Social Sign-In for your APEX App ✅
Enabling Multi-Factor Authentication (MFA) in OCI
Before we begin, please note that we'll be focusing on the Oracle Cloud Console for this guide, not APEX. So, go ahead and log in to your tenancy, and we'll be ready to start!
If you logged in, navigate to Identity & Security and select Domains. Choose the default domain and then click on the Security link in the left navigation menu. You'll see MFA there - just click on the link to access the Multi-factor authentication settings.

Once you're on the MFA settings page, you'll find a bunch of options to set up factors like email, mobile app, or Fast ID Online (FIDO) authenticator. Personally, I like using a mobile app or FIDO authentication, but feel free to choose whatever works best for you! 😉

Don't forget to save your changes after you've selected your preferred factors. Keep in mind that these factors will only start working once they're added to a Sign-on Policy. So, let's do this in the next step! 😎
Authentication Factors
Security Questions: Users verify their identity by answering a set number of questions after entering their username and password.
Email: OCI sends a one-time passcode to the user's primary email for second verification.
Duo Security: Enable Duo Security for MFA, allowing users to authenticate via the Duo App or other factors.
Fast ID Online (FIDO): Configure FIDO authentication for users to utilize external devices like YubiKey or internal devices like Windows Hello or Mac Touch ID for identity domain authentication.
Mobile App Passcode: Use an authenticator app like Oracle Mobile Authenticator or Google Authenticator for generating OTPs.
Mobile App Notification: Send a push notification with an approval request for login attempts. After entering credentials, a request is sent to the user's phone app, and they tap Allow to authenticate.
Text Message (SMS) or Phone Call: Users receive a passcode via text or call for use as a second verification method after entering their username and password.
Creating a Sign-On Policy to activate MFA for your APEX App
Now that we have our factors set up and activated, it's time to connect them to our APEX app. We'll do this by creating a Sign-on policy. So, let's get this done and make our app even more secure! 🔐
Click on the Sign-on Policies link in the left navigation menu, and then click Create Sign-on Policy to add a new one. You can name it something like MY APEX POLICY and then click Add Policy.

In the next Step add a new Rule by clicking Add sign-on rule. Give the Rule a name e.g. MFA for APEX. Then scroll down to the Actions sections and check Prompt for an additional factor. Set the Frequency to Every time and click finally on the Add sign-on rule button.

Now let's move on to the final step by clicking the Next button so we can continue adding apps to the Sign-In Policy. Click Add App and choose the application you made earlier in the previous steps.

Click Close and we're almost done!
Are we? Not really! one more thing is to do - let's activate this policy to make it work. Simply click the Activate sign-on policy button to complete the setup ✅

Test your Multi-Factor Authentication
To verify if everything's working fine, go ahead and run your APEX application. If all is good, you'll see the OCI Login Dialog.

After that, OCI will ask you to Enable Secure Verification. You should see a screen that looks something like this one:
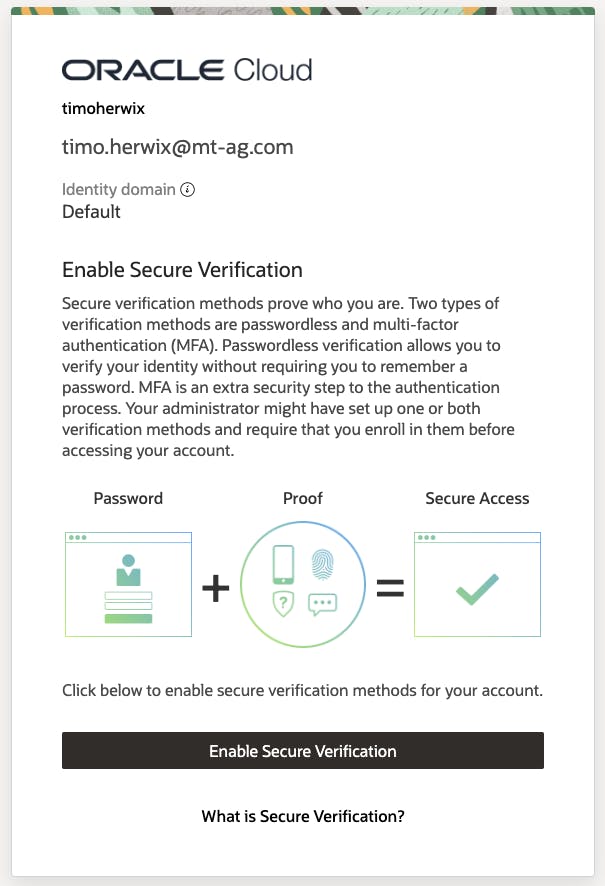
Once you click Enable Secure Verification, you will be prompted to choose one of the MFA factors that we configured in the previous section. For this example, let's go with the Mobile App Method.

If you don't already have an Authenticator App, go ahead and download the Oracle Mobile Authenticator App to your phone and scan the QR code. If you prefer using another authentication app like Google Authenticator - just make sure to select Offline Mode or Use Another Authenticator App and scan the QR code.

Once everything's all set up and confirmed, you'll be ready to roll! 😎

Conclusion
So, to wrap things up, adding Multi-Factor Authentication to your APEX apps with Oracle Identity and Access Management significantly enhances your app's security. By following the steps outlined in this guide, you can easily set up MFA factors, create a Sign-On policy, and activate it for your APEX app, ensuring a more secure user authentication process.
In the upcoming blog posts, we'll be showing you how to set up passwordless solutions and explore Sign-On Policies in more detail. Stay tuned 😎