

Enabling Passwordless Authentication in APEX using Oracle Identity and Access Management
Secure Access Made Easy: A Step-by-Step Guide Part 4


Introduction
In the previous blog posts, we've walked you through setting up the Authentication and Authorization process, as well as implementing Multi-Factor Authentication (MFA) for extra security. Now, we want to demonstrate a passwordless solution that offers greater convenience and security compared to traditional password-based authentication methods.

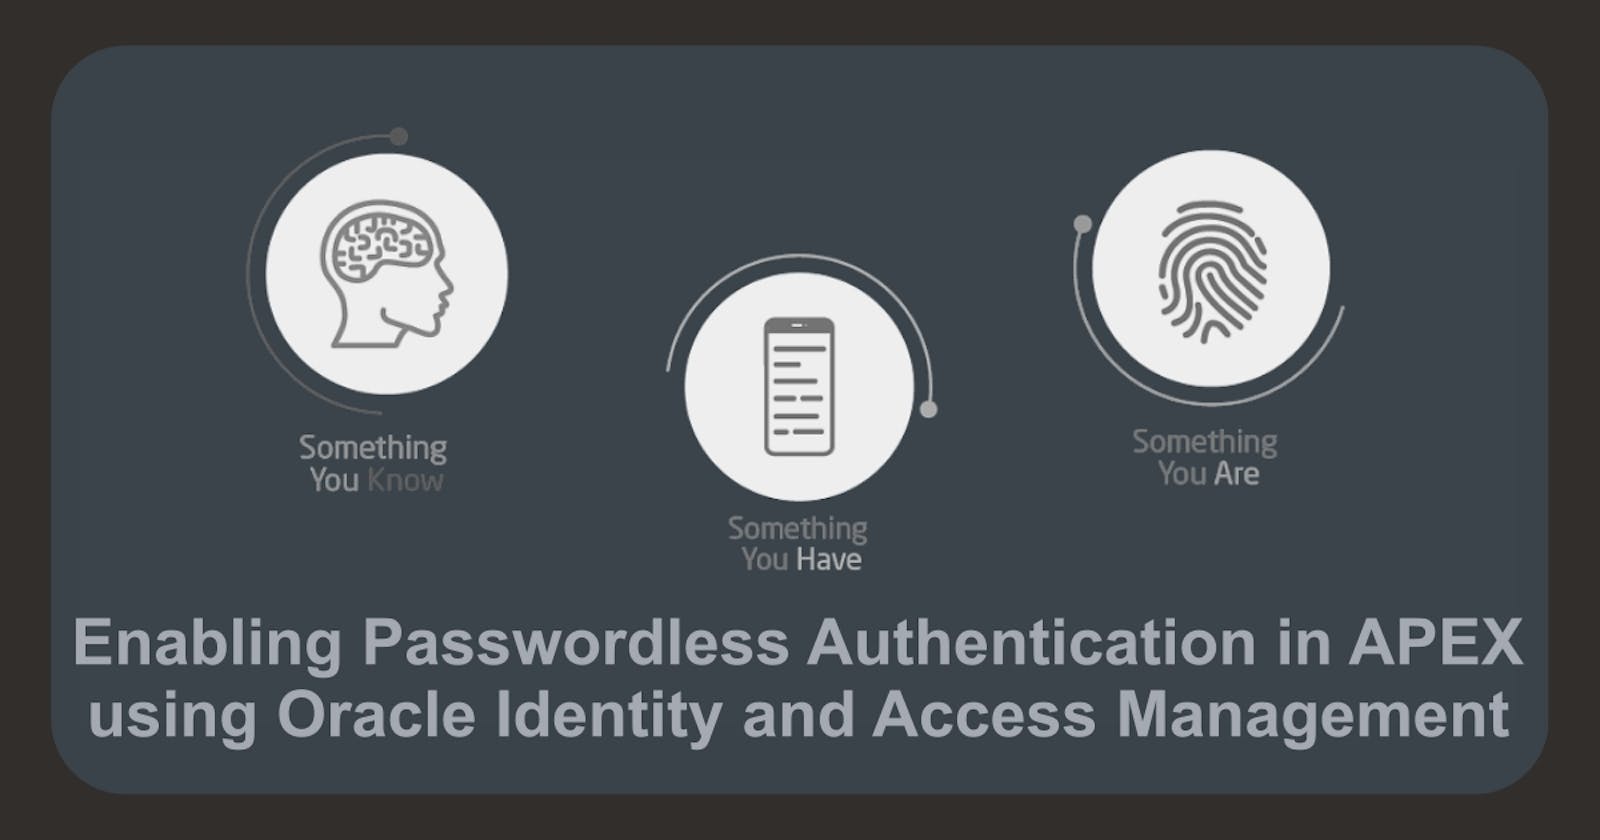
Why Passwordless Authentication?
In our modern world, a lot of folks using web applications struggle with remembering and handling all their passwords. It's pretty common for people to use the same or similar passwords across different apps. Sometimes, users might choose weak or repeated passwords, write them down on sticky notes, or save them in files. This can unfortunately make it easier for cybercriminals to sneak in and gain unauthorized access to sensitive information. Attackers might use tactics like keylogging, phishing, brute force, or man-in-the-middle attacks to guess or steal credentials. The consequences are clear.

Popular forms of Passwordless Authentication approaches
Magic Links
Magic links creates unique, one-time passwords on the server and send them to you through email or text. You'll get a message with a link that looks something like this:
https://example.com/authenticate?token=
When you click on this link, the server checks the token and grants you access to the app.

One-time Codes
One-time codes are quite similar to magic links. Instead of getting a link to click in your email, you'll receive a short code, typically between 4 and 8 characters. To finish logging in, all you need to do is enter that code on the website, and voilà! The server will verify it for you.

Biometrics
Biometrics come in various forms and can sometimes be a bit confusing.
For instance, we have device-native biometrics, which includes technologies like Face ID, Touch ID, Windows Hello, and the Android fingerprint reader. When you use these biometrics to log in to an application, you'll need to perform the biometric action (or enter your device PIN) to show that the device belongs to you. After that, your device handles the authentication process with the server using public key cryptography.

We believe that the future lies in device-native biometrics. While there are advantages and disadvantages to all of these options, the streamlined and familiar login process for users combined with great security features is the best-case scenario for many consumer web applications.
So, let's explore a more convenient and secure alternative to traditional password-based authentication methods!
Enabling Passwordless Authentication in OCI
Setting up Passwordless Authentication in OCI is not too complicated Just follow these three simple steps and you're good to go:
First, change the sign-in settings so that users only need their username and an extra factor, instead of the usual username and password combo.
Next, choose the authentication factors you'd like your users to have, such as One-Time Passwords from a mobile authenticator app, or FIDO authentication for using external devices like a YubiKey, or even built-in features like Windows Hello or Mac Touch ID.
Finally, create an Identity Provider Policy (IdP)to allow the chosen authentication factors.
Setting up Username only Sign-In
Step one is to configure the sign-in requirements so that users only need their username and their chosen authentication factor. To do this, log in to your tenancy and navigate to Identity & Security. Next, find Identity and click on Domains. Choose the default domain (or the one you want to work in). Then, click Settings, followed by Session settings. Select Enable username first flow and click Save changes.

And that's it! Your users will now only need their username for sign-in, and the authentication factor will take care of the rest. ✅

Setting up the Authentication Factors
Let's move on to the second step, which is setting up the authentication factors for Passwordless Authentication. To do this, go back to Security and click on MFA in the left navigation menu. Next, in the Factors section, choose one or more factors that you'd like your users to use.
Note: If you had authentication factors enabled before Passwordless Authentication, you'll need to disable them first.
Once you're done, click Save changes.

Your users will be able to use the selected factors for Passwordless Authentication ✅
Setting Up the Identity Provider Policy
You can either create a new Identity Provider Policy (IdP) or edit an existing one. To do this, navigate back to Security and click on IdP policies. On the Identity provider (IdP) policies page, click the Create IdP Policy button and name the policy, for example Passwordless for APEX. Then click Add Policy. Next, click Add IdP rule. When you're on the Add identity provider rule page, give your rule a name, e.g. Passwordless Authentication with Fido and choose the authentication factor (or factors) you'd like to enable under Assign identity providers - for example, FIDO. Once you've finished, click Add IdP rule and Next.

Finally, you can assign an app by clicking the Add App button. Search for the application you want to grant access to, click on Add app and Close the dialog.

And there you have it!

Go ahead and give your Passwordless Sign-In a try 👍
Test your Sign-In
To verify if everything's working fine, go ahead and run your APEX application. If all is good, you'll see the OCI Login Dialog without needing a password.

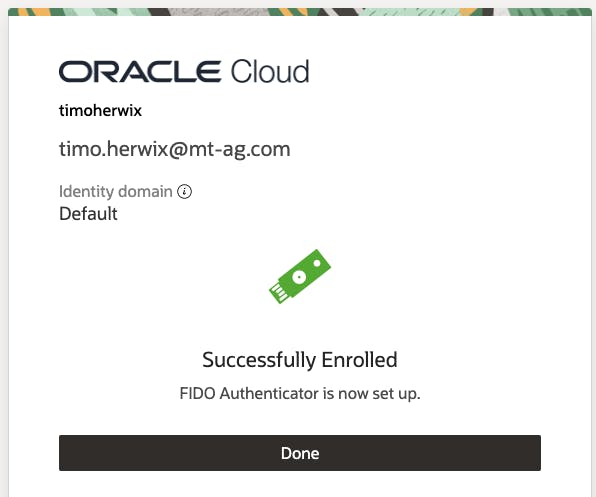
After that, OCI will ask you to Enable Secure Verification. You should see a screen that looks something like this one:

After enabling the Secure Verification feature, you will be prompted to configure the Multi-Factor Authentication (MFA) Factor, specifically the FIDO Authenticator in this case. By clicking on the Setup button, you will initiate the process of creating and registering your passkey.

Next, we need to proceed with setting up a unique passkey for securely signing into OCI. This passkey will act as an additional layer of security, ensuring that only authorized users can access it.

I'm using Apple devices, so in my case, I'm using a different passkey that I want to store in the iCloud Keychain. This has the advantage that I can use it on all my Apple devices (for example, iPhone, iPad...).

So in this case I will select the iCloud keychain and then use the Mac Touch ID.

If everything is configured correctly, you'll see a screen that looks like this:
There you go! From now on, whenever you sign in, just enter your email or username and use your Touch ID for a quick and secure verification 😎
What about Face ID Authentication?
Face ID is supported by FIDO authentication, so enabling it on your mobile device is quite simple - no extra steps needed in OCI. Just go ahead and launch your APEX Application on your mobile phone and sign in. You'll see that you can configure Face ID there too. Super handy for Progressive Web Apps, right? 📱

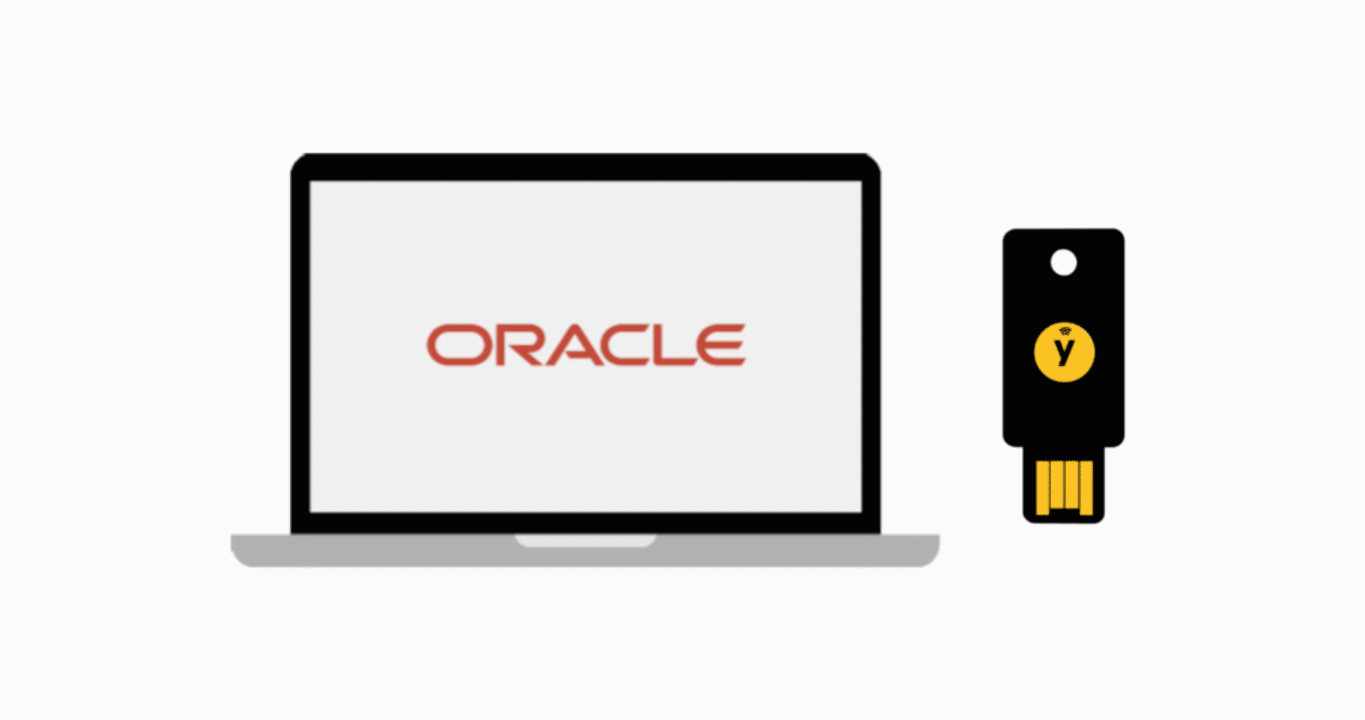
What about Yubikey?
Yubikey is also supported by FIDO authentication. You can register multiple FIDO Authenticators so that you have the option to choose between passkeys or, for example, Yubikey.
Conclusion
In conclusion, passwordless authentication provides a more convenient and secure alternative to traditional password-based methods. By enabling this feature, users can sign in using only their username and an additional authentication factor, decreasing the risk of cyberattacks and improving the user experience. Implementing passwordless authentication is a major step towards improving the overall security of your web applications.
In the upcoming blog posts, we'll be diving into Sign-On Policies in more detail. So, stay tuned 😎